
When Margaret contacted us, her Highton home had been repainted twice in the previous fifteen years and neither job had lasted. By the time we arrived, the paint was lifting off in sheets near the eaves and the colour had bleached to a chalky grey on the north-facing elevations. This is what we found, what we did, and why the approach we used will outlast the previous two jobs combined.
Margaret
Highton, Geelong VIC
1960s weatherboard home
Full exterior repaint + weatherboard restoration
8 working days
Dulux Weathershield (topcoat) + Haymes Primer
2025
Highton VIC 3216
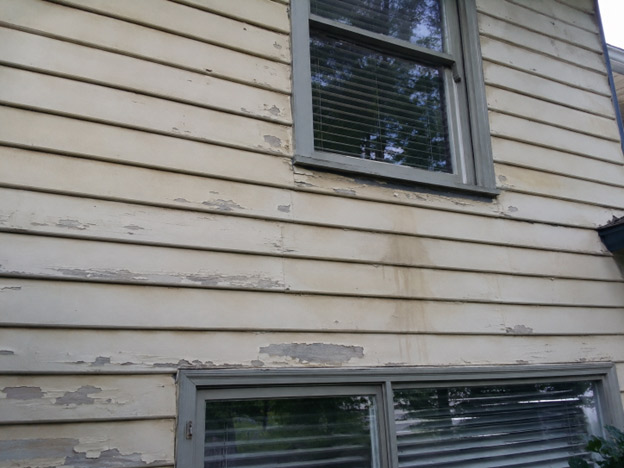
Margaret had lived in the same house for over twenty years and had it painted twice in that time – once around 2008 and again in 2017. The second job had already started failing within three years. By the time she called us in mid-2025, the paint on the north and west elevations was lifting visibly along the board edges, and there were several spots near the eaves where whole panels had shed down to bare timber.
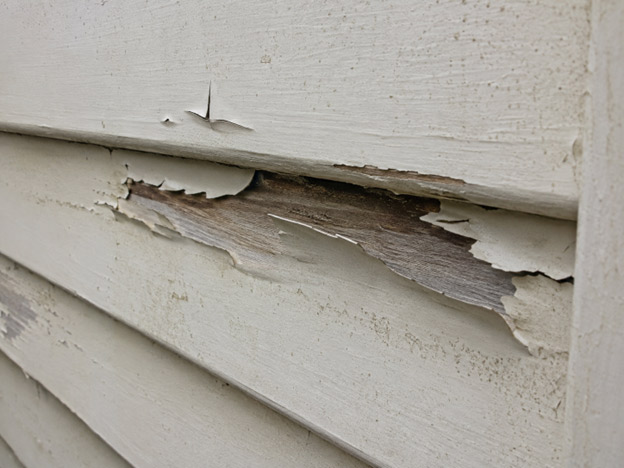
Her concern wasn’t purely cosmetic. She had noticed the timber felt soft under her thumb on two of the boards near the laundry window, and she’d seen what she thought was mould working under a flap of loose paint near the pergola post. She’d had two previous painters tell her to “just paint over it” and had watched that advice fail twice. She wanted to understand why it kept happening, and she wanted someone willing to actually fix the cause rather than the appearance.
The other complication: she was planning to sell within two to three years, so durability mattered as much as appearance.
The first thing that became clear on inspection was that the two previous paint jobs had both been applied over inadequately prepared surfaces. We found:
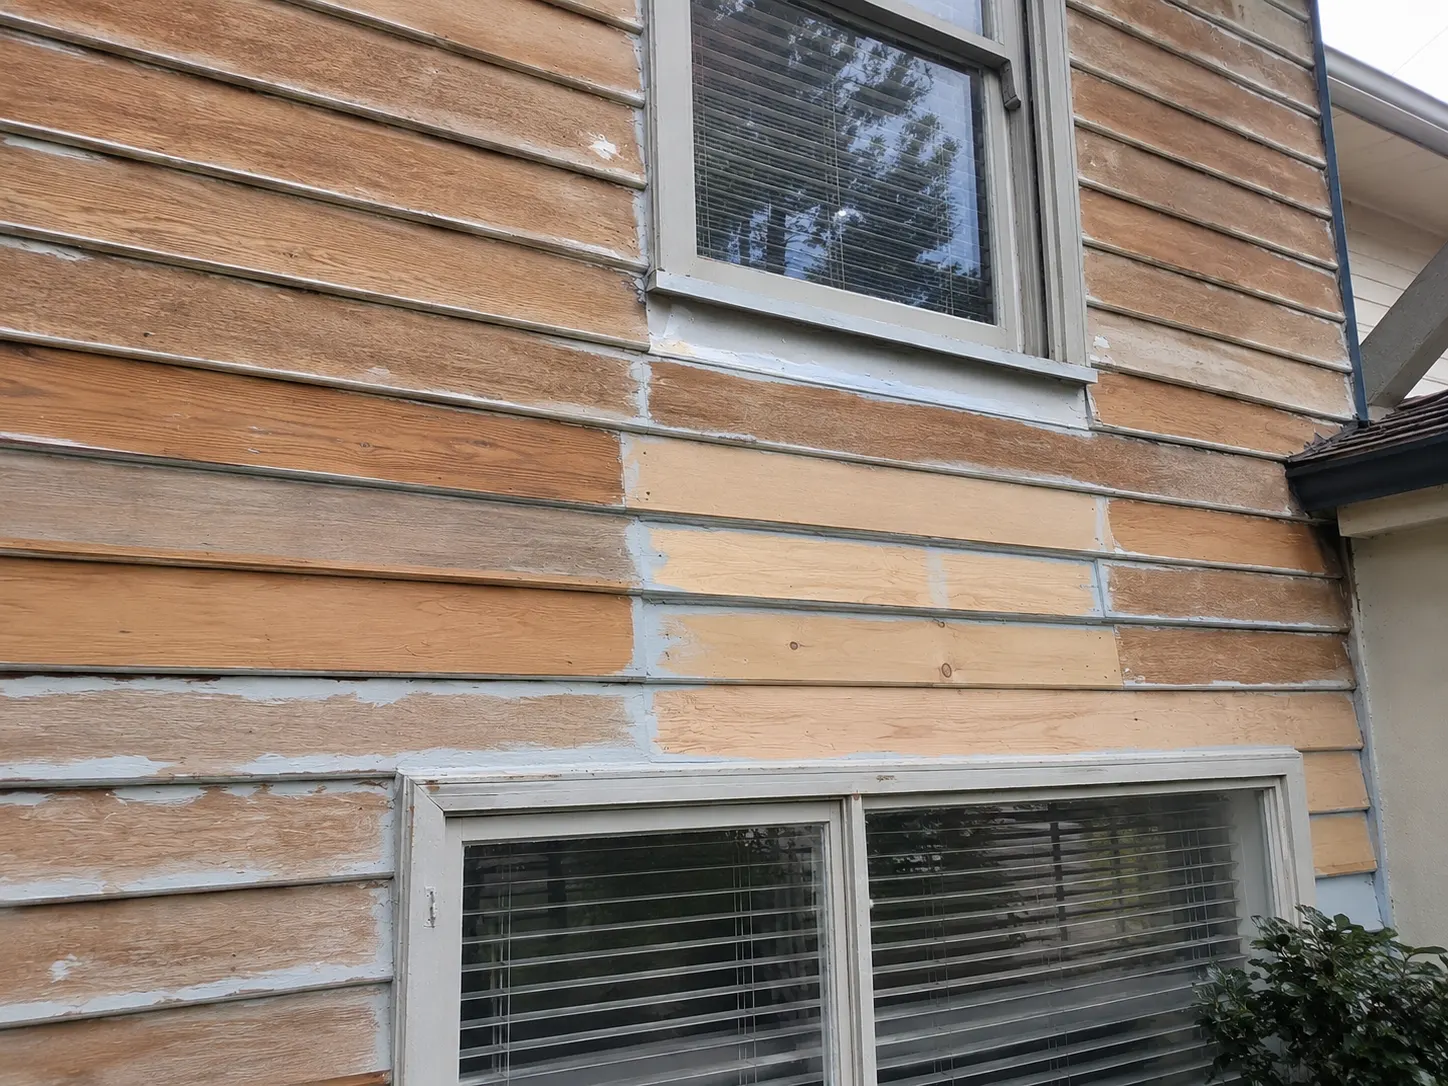
We gave Margaret a clear recommendation: full strip-back where the paint had failed, mechanical removal of all chalky paint on the north elevation, replacement of the two rotted boards, a Haymes primer to bare timber across every exposed area, and Dulux Weathershield as the topcoat system – two coats on the body, two coats on all trims and eaves.
We explained the reasoning for each step. Dulux Weathershield was chosen specifically for the north-facing exposure: it’s a 100% acrylic formula with UV stabilisers that resist the kind of chalking and fading she’d seen on the previous job. It also carries genuine flexibility for timber movement, which matters on weatherboards that are expanding and contracting daily across Geelong’s seasonal range.
We also recommended a flexible exterior sealant at all joints and the window sill rebates before primer – the waterline stain she’d noticed under the laundry window was from a failing sill joint that was letting water run in behind the cladding. Painting over it without sealing it first would have produced the same stain within another eighteen months.
We provided a written quote with each item broken out, gave Margaret the option to stagger the work if budget was a consideration, and set a clear timeline. She booked the full scope.
A two-day rain event stopped outdoor work mid-job. We used the time for interior preparation work (undercoat on the replacement boards inside the workshop, site clean, material staging) and rescheduled the exterior coats to maintain the correct dry-film build sequence. We didn't try to work in unsuitable conditions to keep a timeline on a big paint job, a wet coat applied in the wrong conditions costs more time than the delay itself.
The 1960s boards were a non-standard depth. We sourced a close-profile match from a Geelong timber merchant, planed to exact width, and primed all six faces before installation not after, which is the step most people skip and the reason new-board failures happen within a year or two of replacement.
Margaret was working from home with young children during the project. We set a clear daily schedule arriving at 7:30am, breaking at school run times, and keeping solvent-based work away from open windows. Small scheduling discipline, but it makes a significant difference to how a two-week project feels to live through.
During scraping on the south elevation, we found a third area of soft timber behind a downpipe that hadn't been visible on inspection about a 200mm section that had been hidden by the pipe bracket. We photographed it, showed Margaret, got written approval before any additional work began, and completed the repair within the original week's schedule.
100% acrylic formula with UV stabilisers and built-in flexibility for timber movement. Chosen for the north and west elevations specifically, it's the product we consistently recommend for high-UV, high-exposure positions in Geelong.
Higher sheen on trims and fascia makes dirt and moisture easier to shed and shows off the sharp edges of the paintwork against the body colour.
Applied to all bare and stripped timber. Haymes' exterior primer penetrates well into open grain, seals tannin bleed (particularly relevant in new pine boards), and gives Weathershield a sound base to bond into.
Paintable polyurethane-modified sealant at all joints and sill rebates. Moves with the timber through seasonal changes without cracking or pulling away from the substrate a step that's easy to skip and expensive not to.
UV-bleached body colour, visible board-edge delamination on north and west elevations, waterline stain below laundry window, chalky surface contamination. Previous two jobs visible as a multi-layer cross section at failing edges.
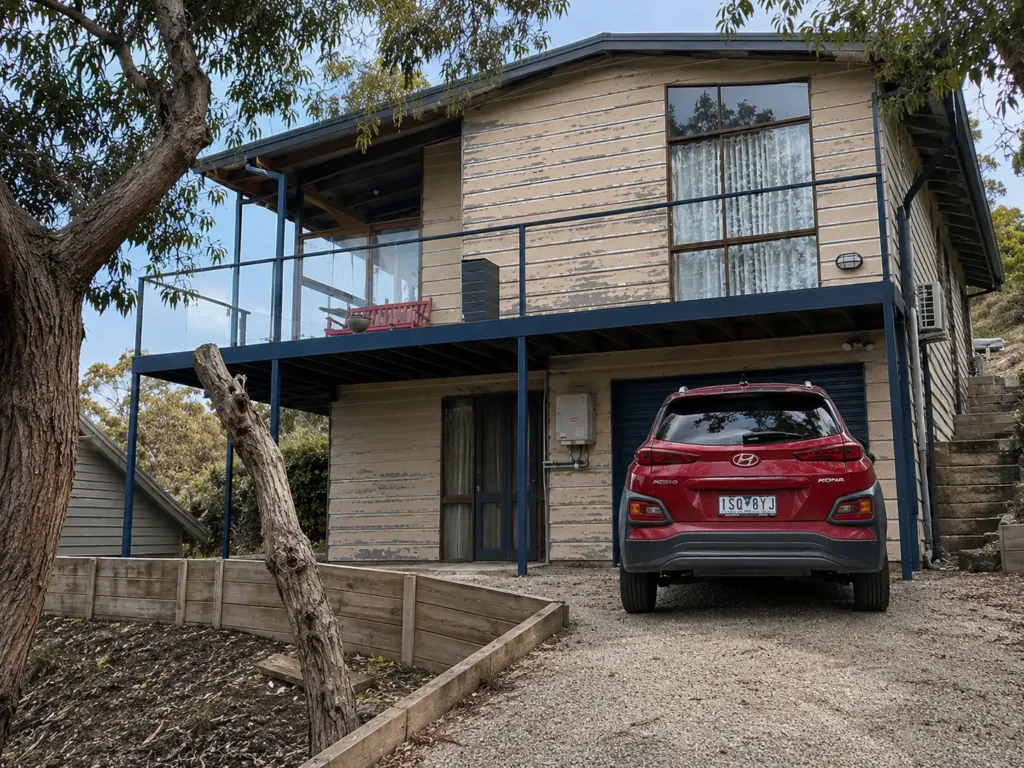
Full Dulux Weathershield system in a warm white with deep charcoal trims and fascia. All board edges tight, sills sealed and painted, new boards indistinguishable from original. The colour shift alone lifted the street presentation noticeably.
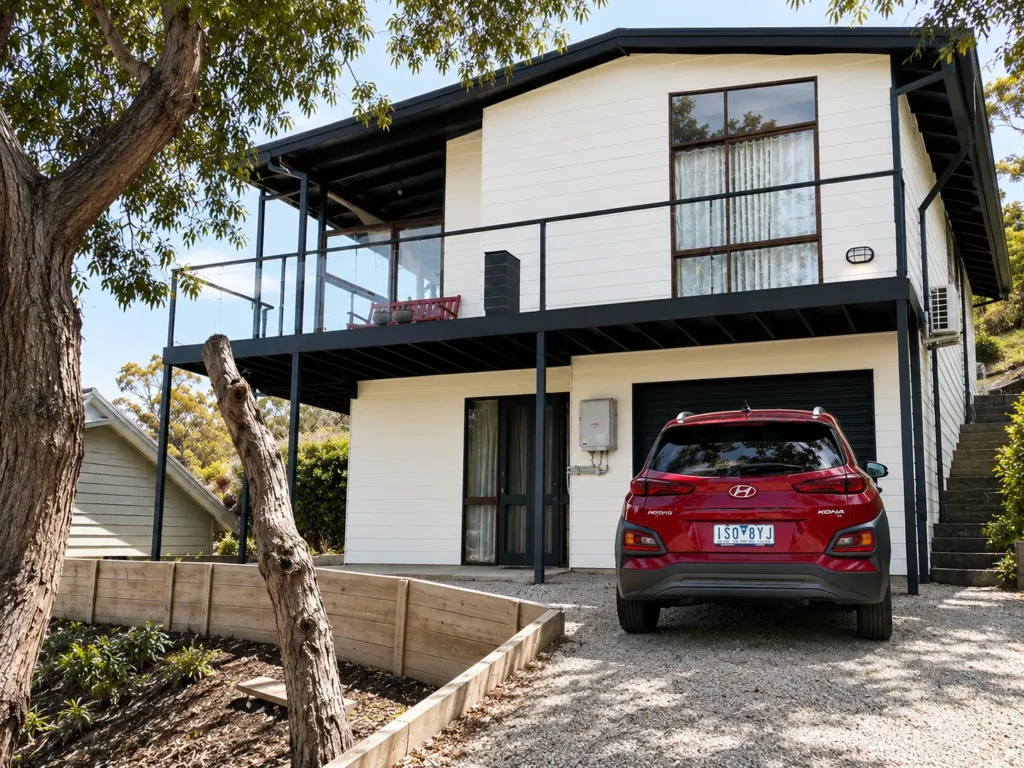
The finished exterior is significantly different from what Margaret started with but the result we’re most confident in isn’t the colour or the gloss level, it’s the preparation underneath it. Every board edge is sealed and coated. Every penetration is sealed. The two rotted boards are gone. The new boards are primed on all faces before installation.
That preparation is why we’re confident this job will still be performing in ten years. Whether Margaret sells the house in two years or stays another ten, the painting won’t be the first thing the next owner needs to deal with.
From a street-appeal perspective, the transformation was significant. The colour we settled on with Margaret a warm Dulux Natural White body against Domino charcoal trims suited the scale of the house and the neighbourhood better than the previous pale grey.
Peeling paint is a symptom, not the problem
The underside board edge matters as much as the face
Replace soft timber before you paint
Chalky paint is a release layer
Premium paint is a small fraction of the total job cost
Dealing with peeling or faded exterior paint in Highton or nearby? We’ll inspect the cause, not just the symptom and give you a written quote with no obligation.